No products in the cart.
How To Create Custom Order Status in WooCommerce
WooCommerce orders are created when a customer completes the checkout process, each order gets order ID and Order Status, Understating the WooCommerce orders flow is important to ensure a smooth purchasing experience for your customers and for officiant order management.
WooCommerce comes with a few core order statuses build-in, to help store owners keep track of where each order is in the life-cycle.
- Pending payment – Order received has been received but no payment initiated.
- Failed – Payment failed or was declined.
- Processing – Payment received and stock has been reduced. Order is awaiting fulfilment.
- Completed – Order fulfilled and complete – requires no further action.
- On-Hold – Awaiting payment – stock is reduced, but payment still needs to be confirmed.
- Cancelled – Cancelled by an admin or the customer – stock is increased.
- Refunded – Refunded by an admin – no further action required.
WooCommerce Orders Flow Diagram:
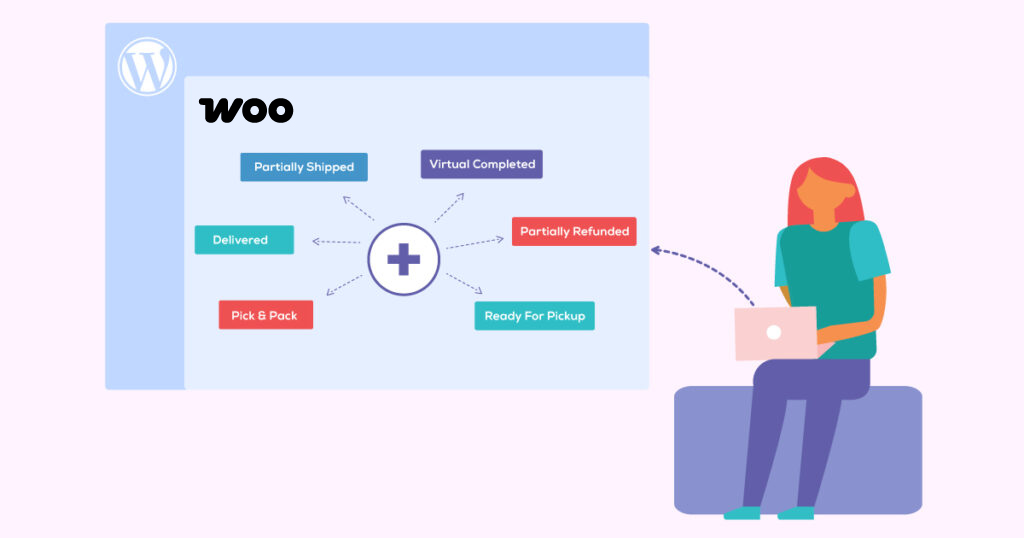
While the core WooCommerce order statuses fit the orders flow for a basic store workflow, it might not be enough if you have different fulfilment workflow, in this case, you can create your own Custom Order Statuses such as “Partially Shipped”, “Delivered” or others, to optimize your orders management flow.
If you are a developer, or have a developer on your team, you can implement custom code snippet to create the Custom Order status, in this post, I will show you how to setup your own Custom Order Statuses and organize your orders flow using the Advanced Order Status Manager (AOSM) plugin
AOSM lets you import custom statuses created by other plugins or code snippets, to customize the WooCommerce core statuses, create custom statuses, enable status emails and it also allows to autocomplete orders to any Custom Status.
When you first enter the Order Status Manager setting after installation, you will see a list of the core order statuses that come built-in with WooCommerce.
AOSM will detect any Custom Order Statuses that were created in your WooCommerce store by other plugins or with Custom Code and will display a notice to allow you to import them and manage all of your order statuses in one central interface, in case you dismissed this message, you can click on the import button to do the import. After the import, you will see all the Custom Order statuses on your Order Status List.
Before import:
After import:
Add/Edit Custom Order Statuses
When you add a new Custom Order Status, you can choose the Status name, slug, customize the status label colors, and set the status as Paid or Non Paid. You can add your description that will be shown to customer in their my-account area, choose the action menu button style, choose if to exclude/include the orders in this status on the WooCommerce reports and if are using TrackShip, you can set that orders that get this status will trigger the tracking info to track with TrackShip.
Enable & Customize the Custom Order Status Email
After you created the custom order status, on the order status list you will be able to enable email notification that will be sent to your customers when orders status changes to that status, you can customize these emails with a standard WordPress email customizer with a live preview.
Use The Custom Order Status in Orders
Now that you set the custom order status, you can use it in your orders:
How To Create Delivered Order Status Using Code Snippet
Use below code snippet to create custom delivered order status
Create Delivered Order Status Email
This is where we will hook into the WooCommerce emails and define the absolute path to the theme folder.
Create a file class-wc-delivered-status-order.php inside the folder “emails” and put below code in it.
The last thing is to define the templates that are going to be used for creating the email content. Create a file wc-customer-delivered-status-order.php inside templates/emails/.


